Russian Salad Recipe (Ensaladilla Rusa): From Imperial Tables to Spanish Tapas
For those of you who have spent any time in Spain, you'll know that Ensaladilla Rusa is very popular. You'll find it in almost every tapas bar and ready made in supermarkets. Today we're going to be making our own because homemade is always better than shop bought.

Today, we're taking a detour from our usual culinary adventures to explore a dish that has truly captured the heart of Spain: Ensaladilla Rusa, or as many of us know it, Russian Salad. This humble yet incredibly satisfying dish has a fascinating journey from the imperial tables of Moscow to becoming a common dish across Spain.
Before we get to the recipe, lets take a look at the history of Russian Salad and how it became popular in Spain.
A Dash of History: The "Olivier Salad" Story
So, where did "Russian Salad" actually come from? Its origins go back to the 1860s, to a Belgian chef called Lucien Olivier, who ran a renowned restaurant called "Hermitage" in Moscow. His original creation, known as "Olivier Salad," was much more elaborate than the version we know today. It featured luxurious ingredients like grouse, veal tongue, caviar, smoked duck, and crayfish tails, all mixed together with a secret mayonnaise recipe. It was a dish fit for Tsars and the Russian aristocracy.
As the 20th century progressed, and particularly after the Russian Revolution, the salad evolved. The expensive ingredients were replaced with readily available and affordable alternatives like potatoes, carrots, peas, and eggs, making it accessible to a wider population. The creamy mayonnaise recipe base remained, but the rich trimmings gave way to simpler readily available ingredients.
How Ensaladilla Rusa Conquered Spain
How did a Russian salad become so popular in Spain? The exact history is a little unclear, but there are several theories. One popular theory suggests the recipe arrived in Spain through returning Spanish Civil War exiles who had spent time in the Soviet Union. Another is that it was introduced by immigrants who fled the Russian revolution and settled in various European countries, including Spain.
Regardless, Ensaladilla Rusa quickly became popular in Spain. Its simplicity, creamy texture, and refreshing taste made it perfect for the Spanish tapas culture. It's a dish that's incredibly versatile, perfect as a light lunch, a refreshing side dish, or a tapa to share with friends over a glass of wine. Its affordability and easy preparation contributed to its widespread popularity across the country.
Make Your Own Spanish Tapas
Now that we've whetted your appetite with a bit of history, let's get down to making our own delicious Ensaladilla Rusa. This recipe is a slight departure from my usual, but the effort is well worth it for that homemade taste!
What You’ll Need
- Large cooking pot
- Mixing bowl
- Knife and peeler
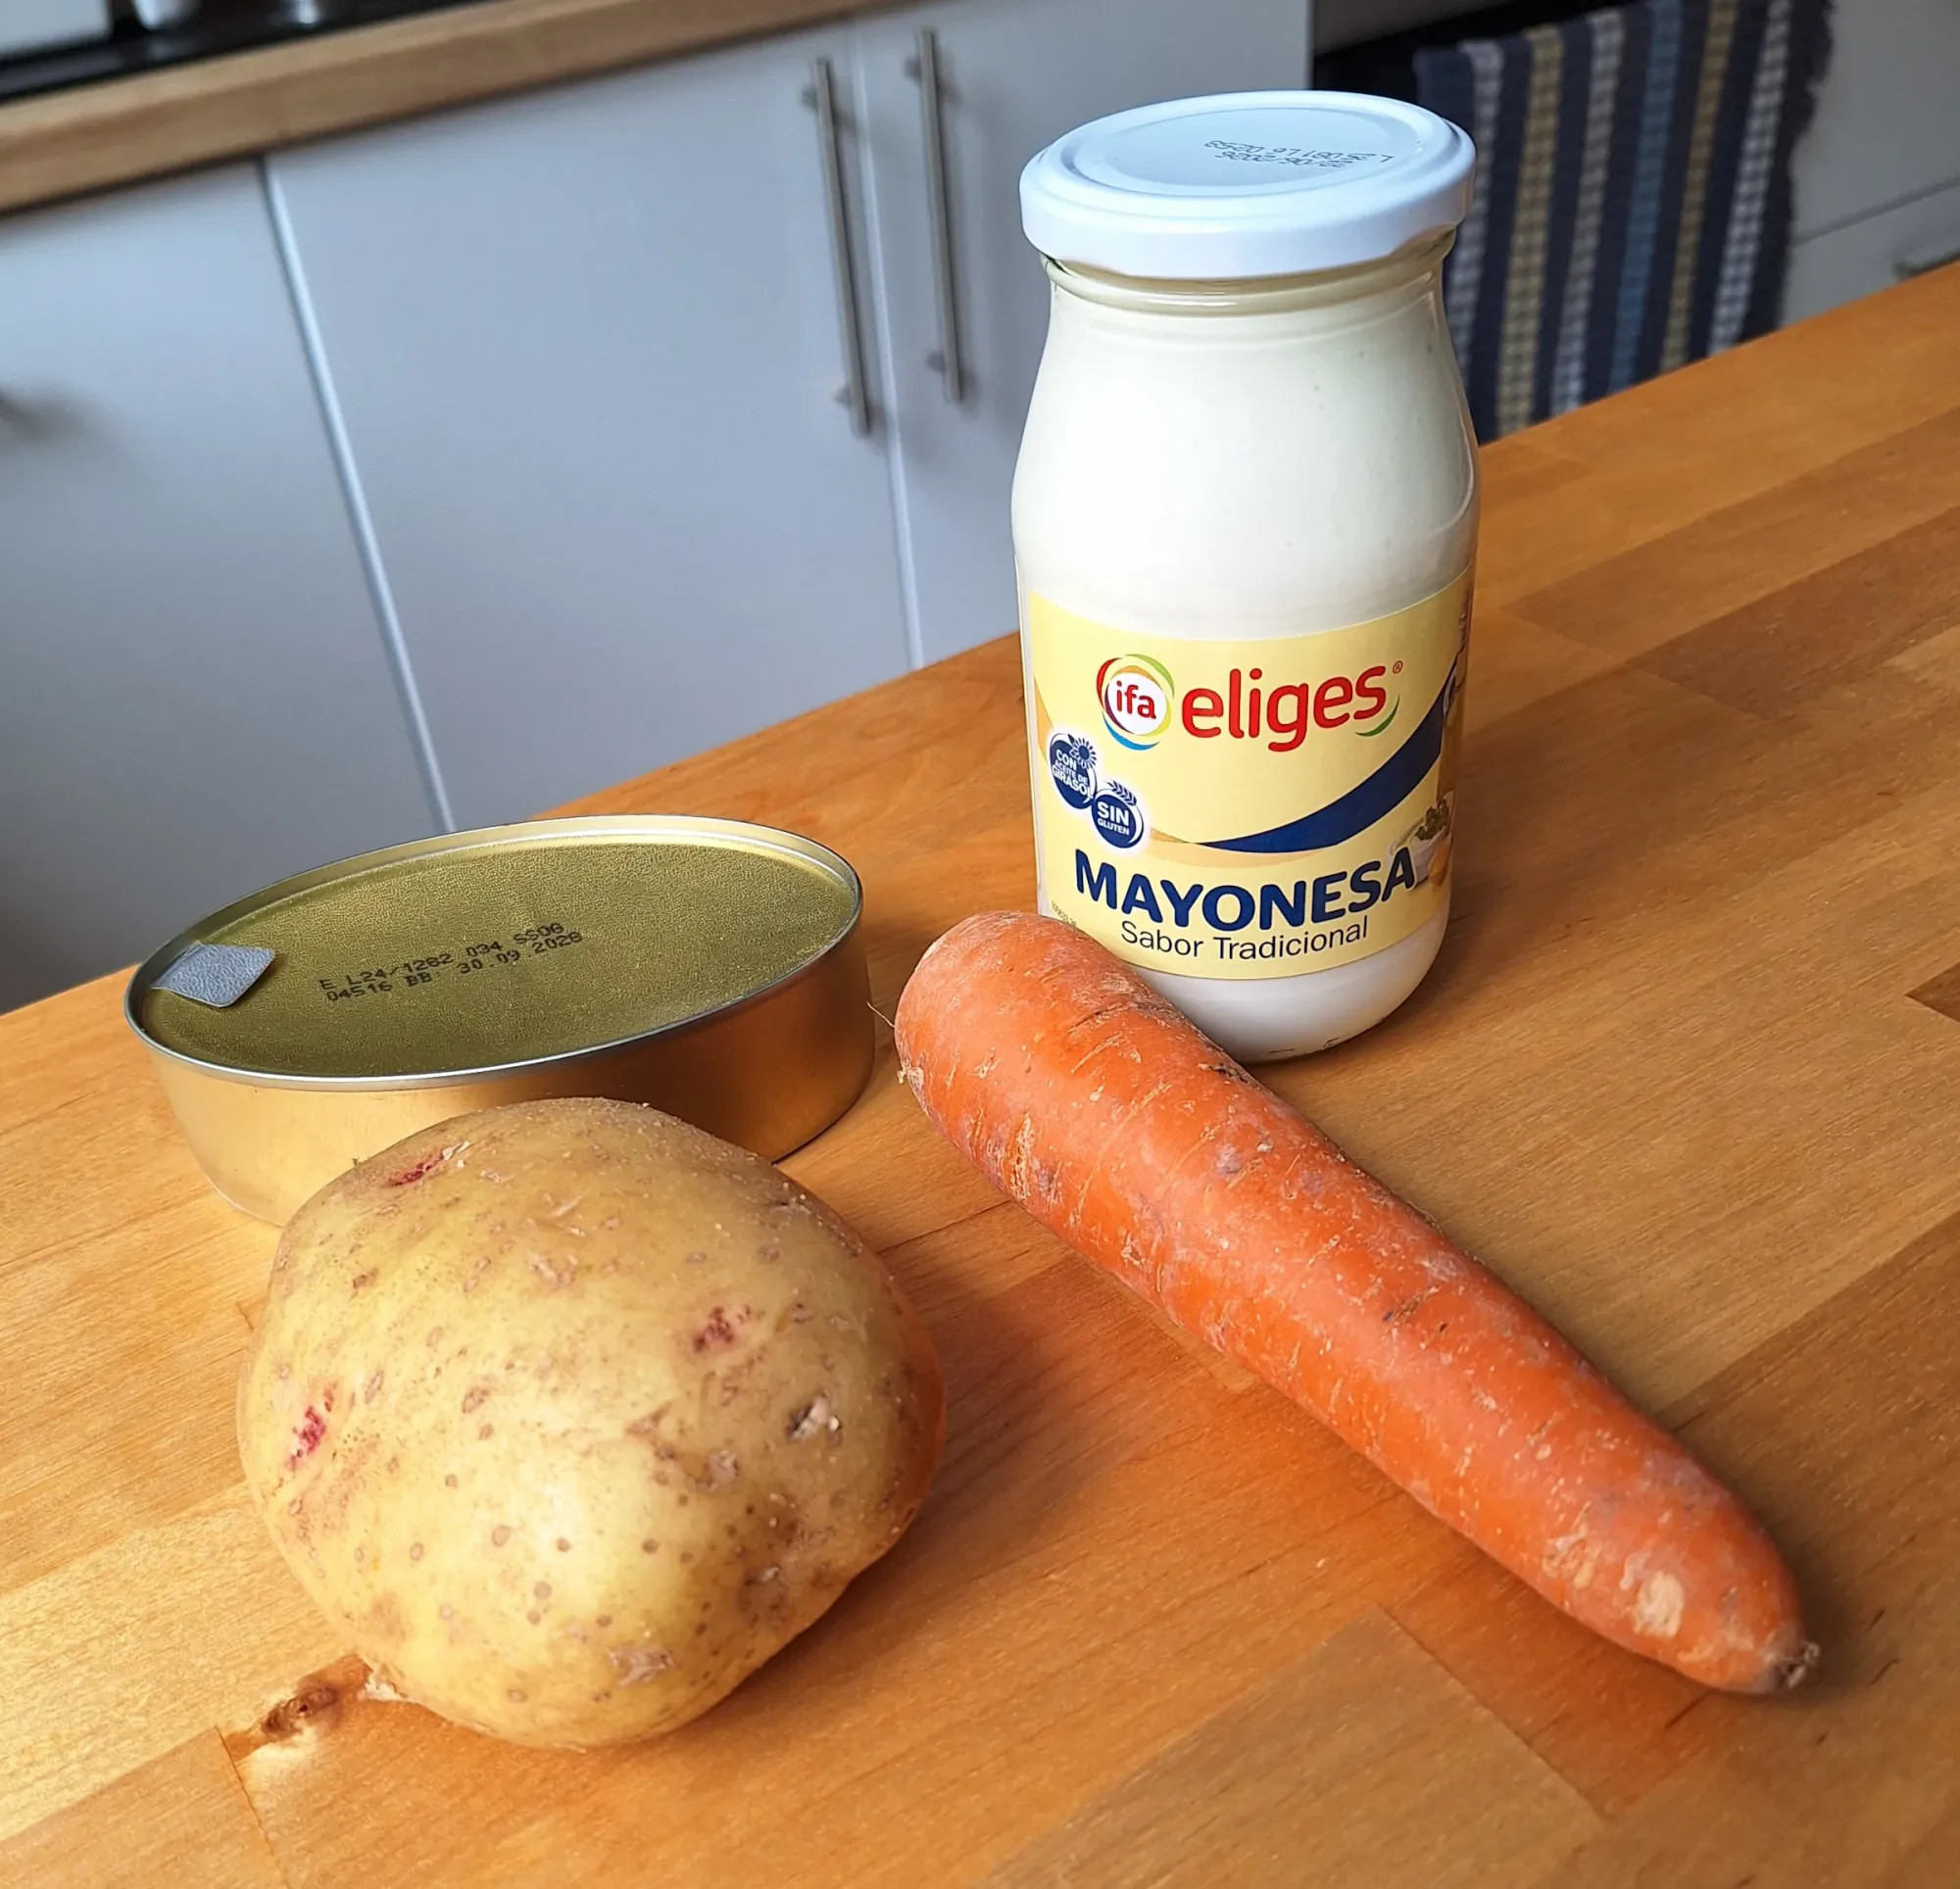
Ingredients:
- 250g Potato
- 125g Carrot
- 200g Tuna (in oil or water, drained)
- 75g Peas (frozen or tinned are fine!)
- 200g Mayonnaise
- 1 Egg
- Salt to taste
Method:
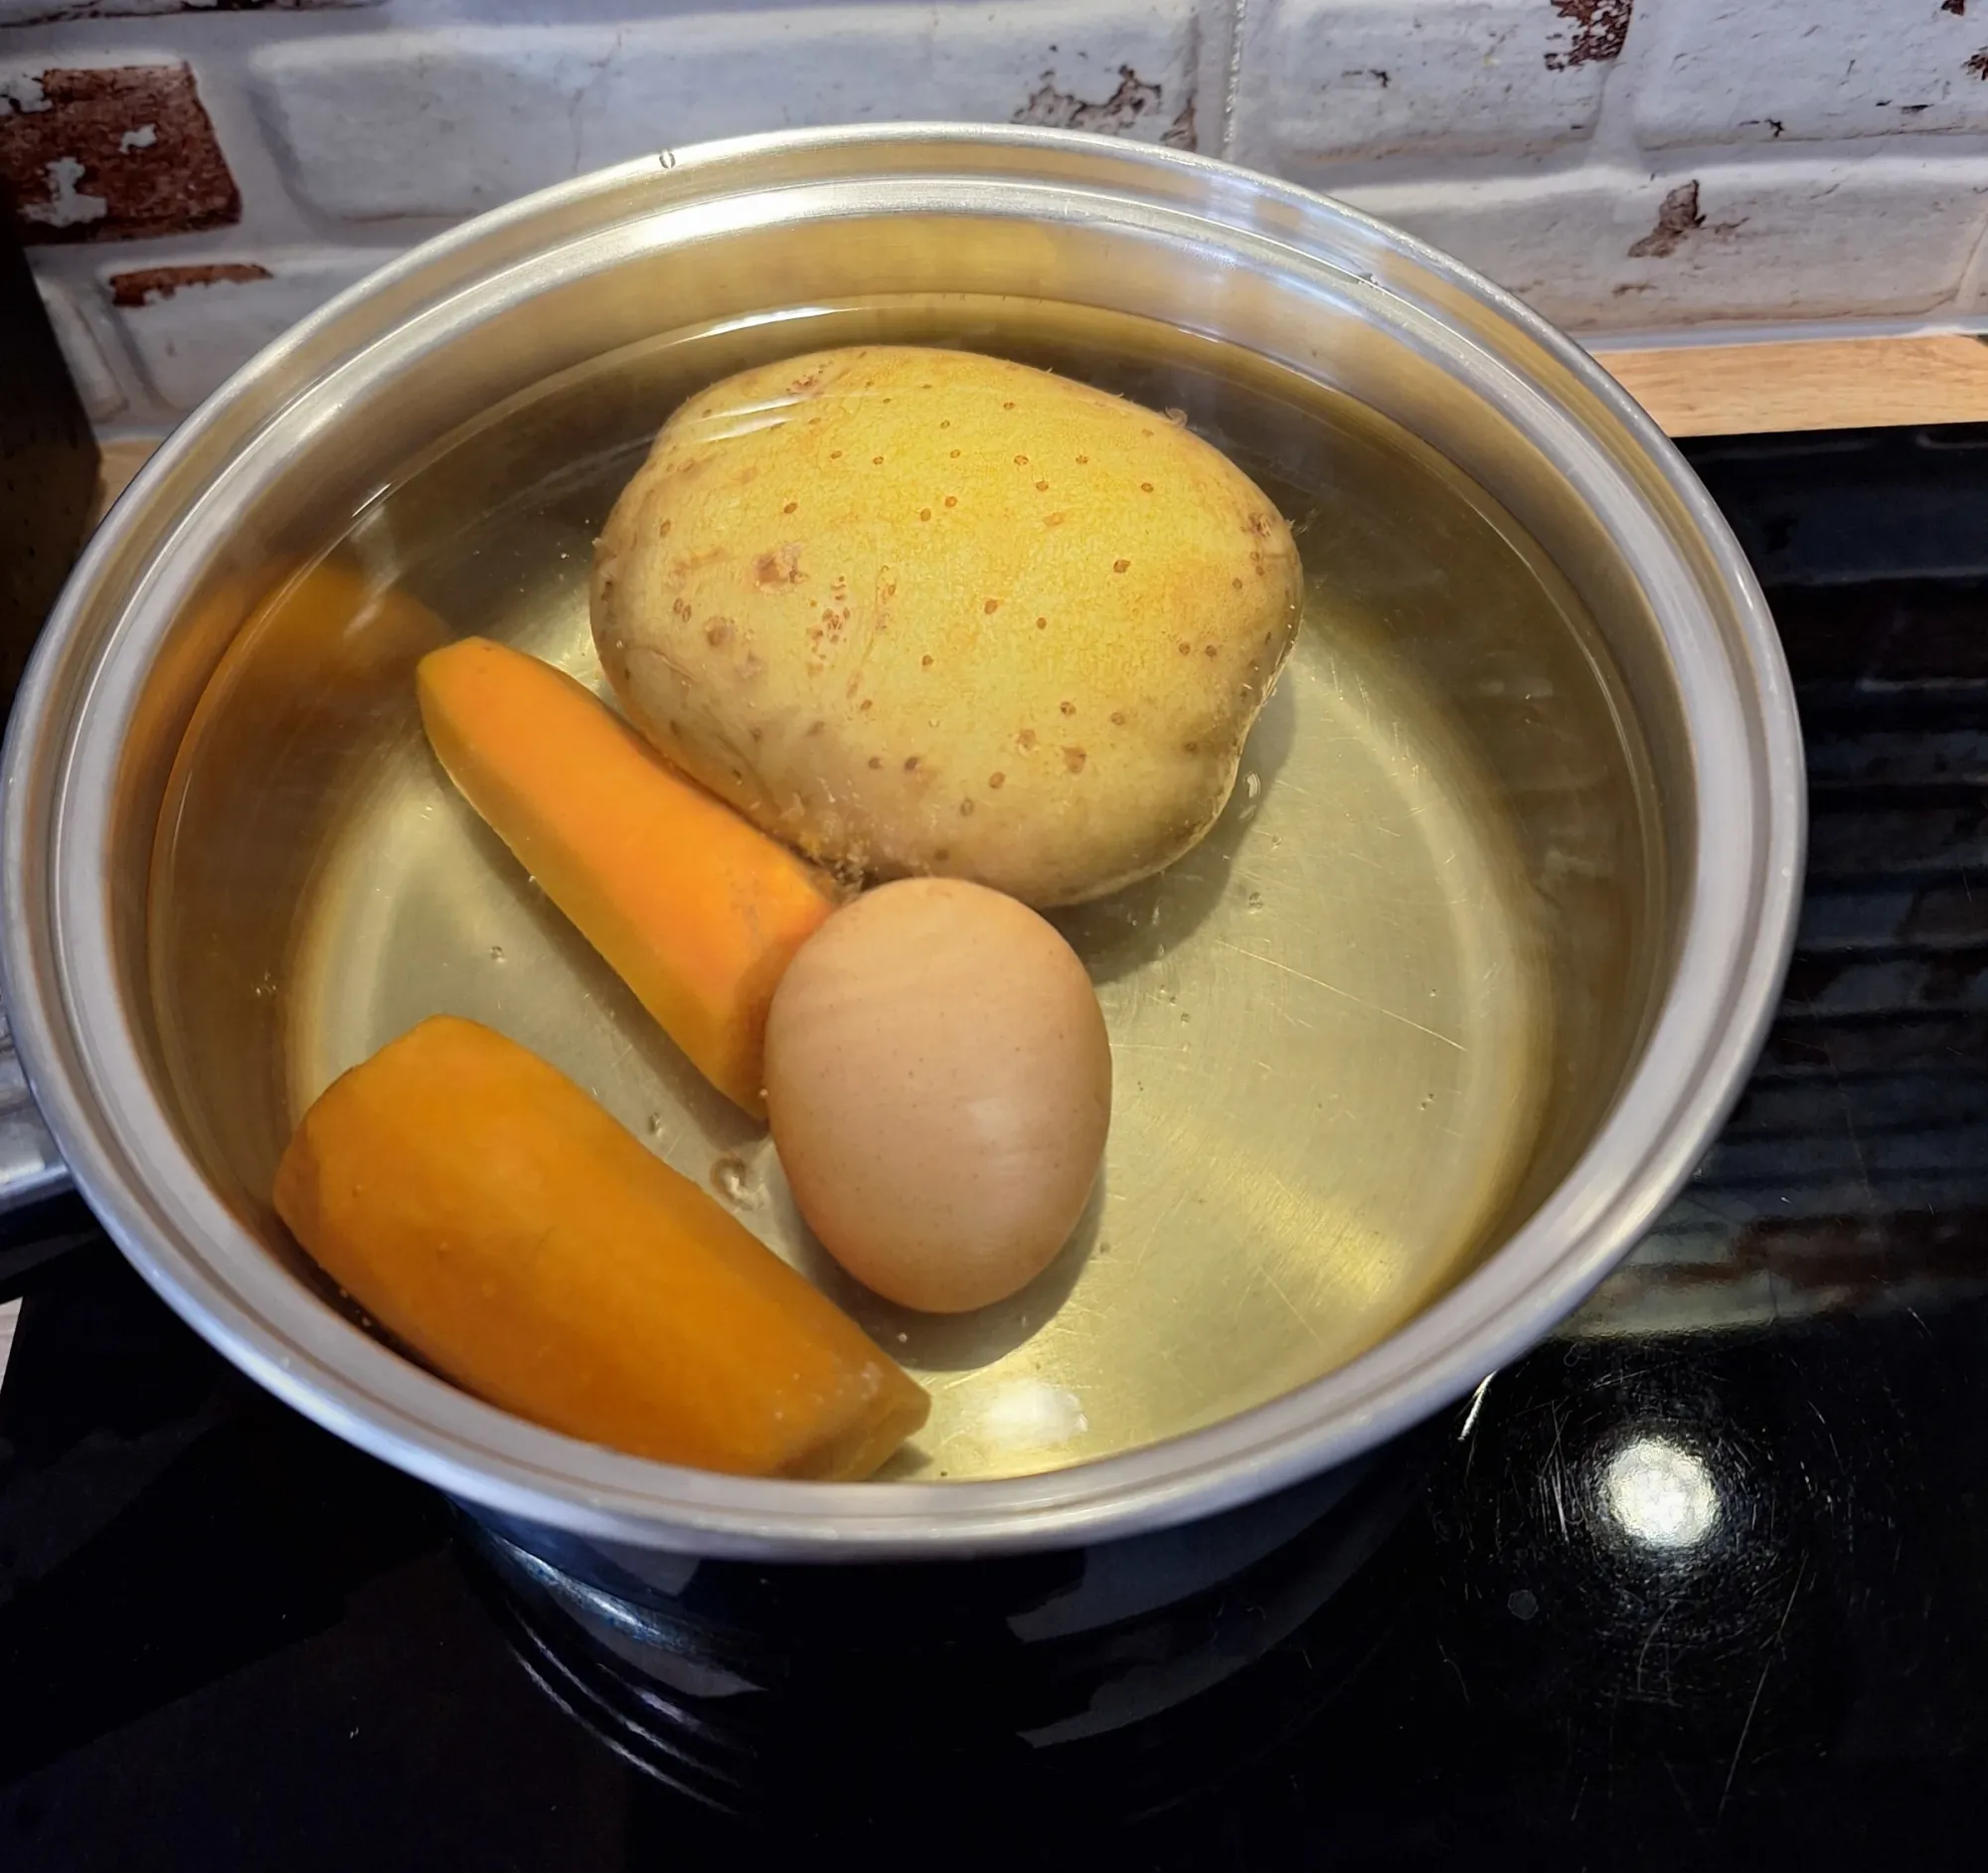
- Put the potato in a pot of cold water and bring it to the boil. Peel the carrot and add it to the water with the potato.
- Gently place the egg into the water with the potato and carrot and cook the egg for 10 minutes.
- Remove the egg from the pot and set aside to cool.
- Continue cooking the carrot and potato. Use a knife to check the carrot for doneness, the knife should slide through easily. Once cooked, remove the carrot from the water.
- Continue cooking the potato until it's cooked through and the knife slides through easily.
- Let the carrot and potato cool completely. Once cool, peel the potato.
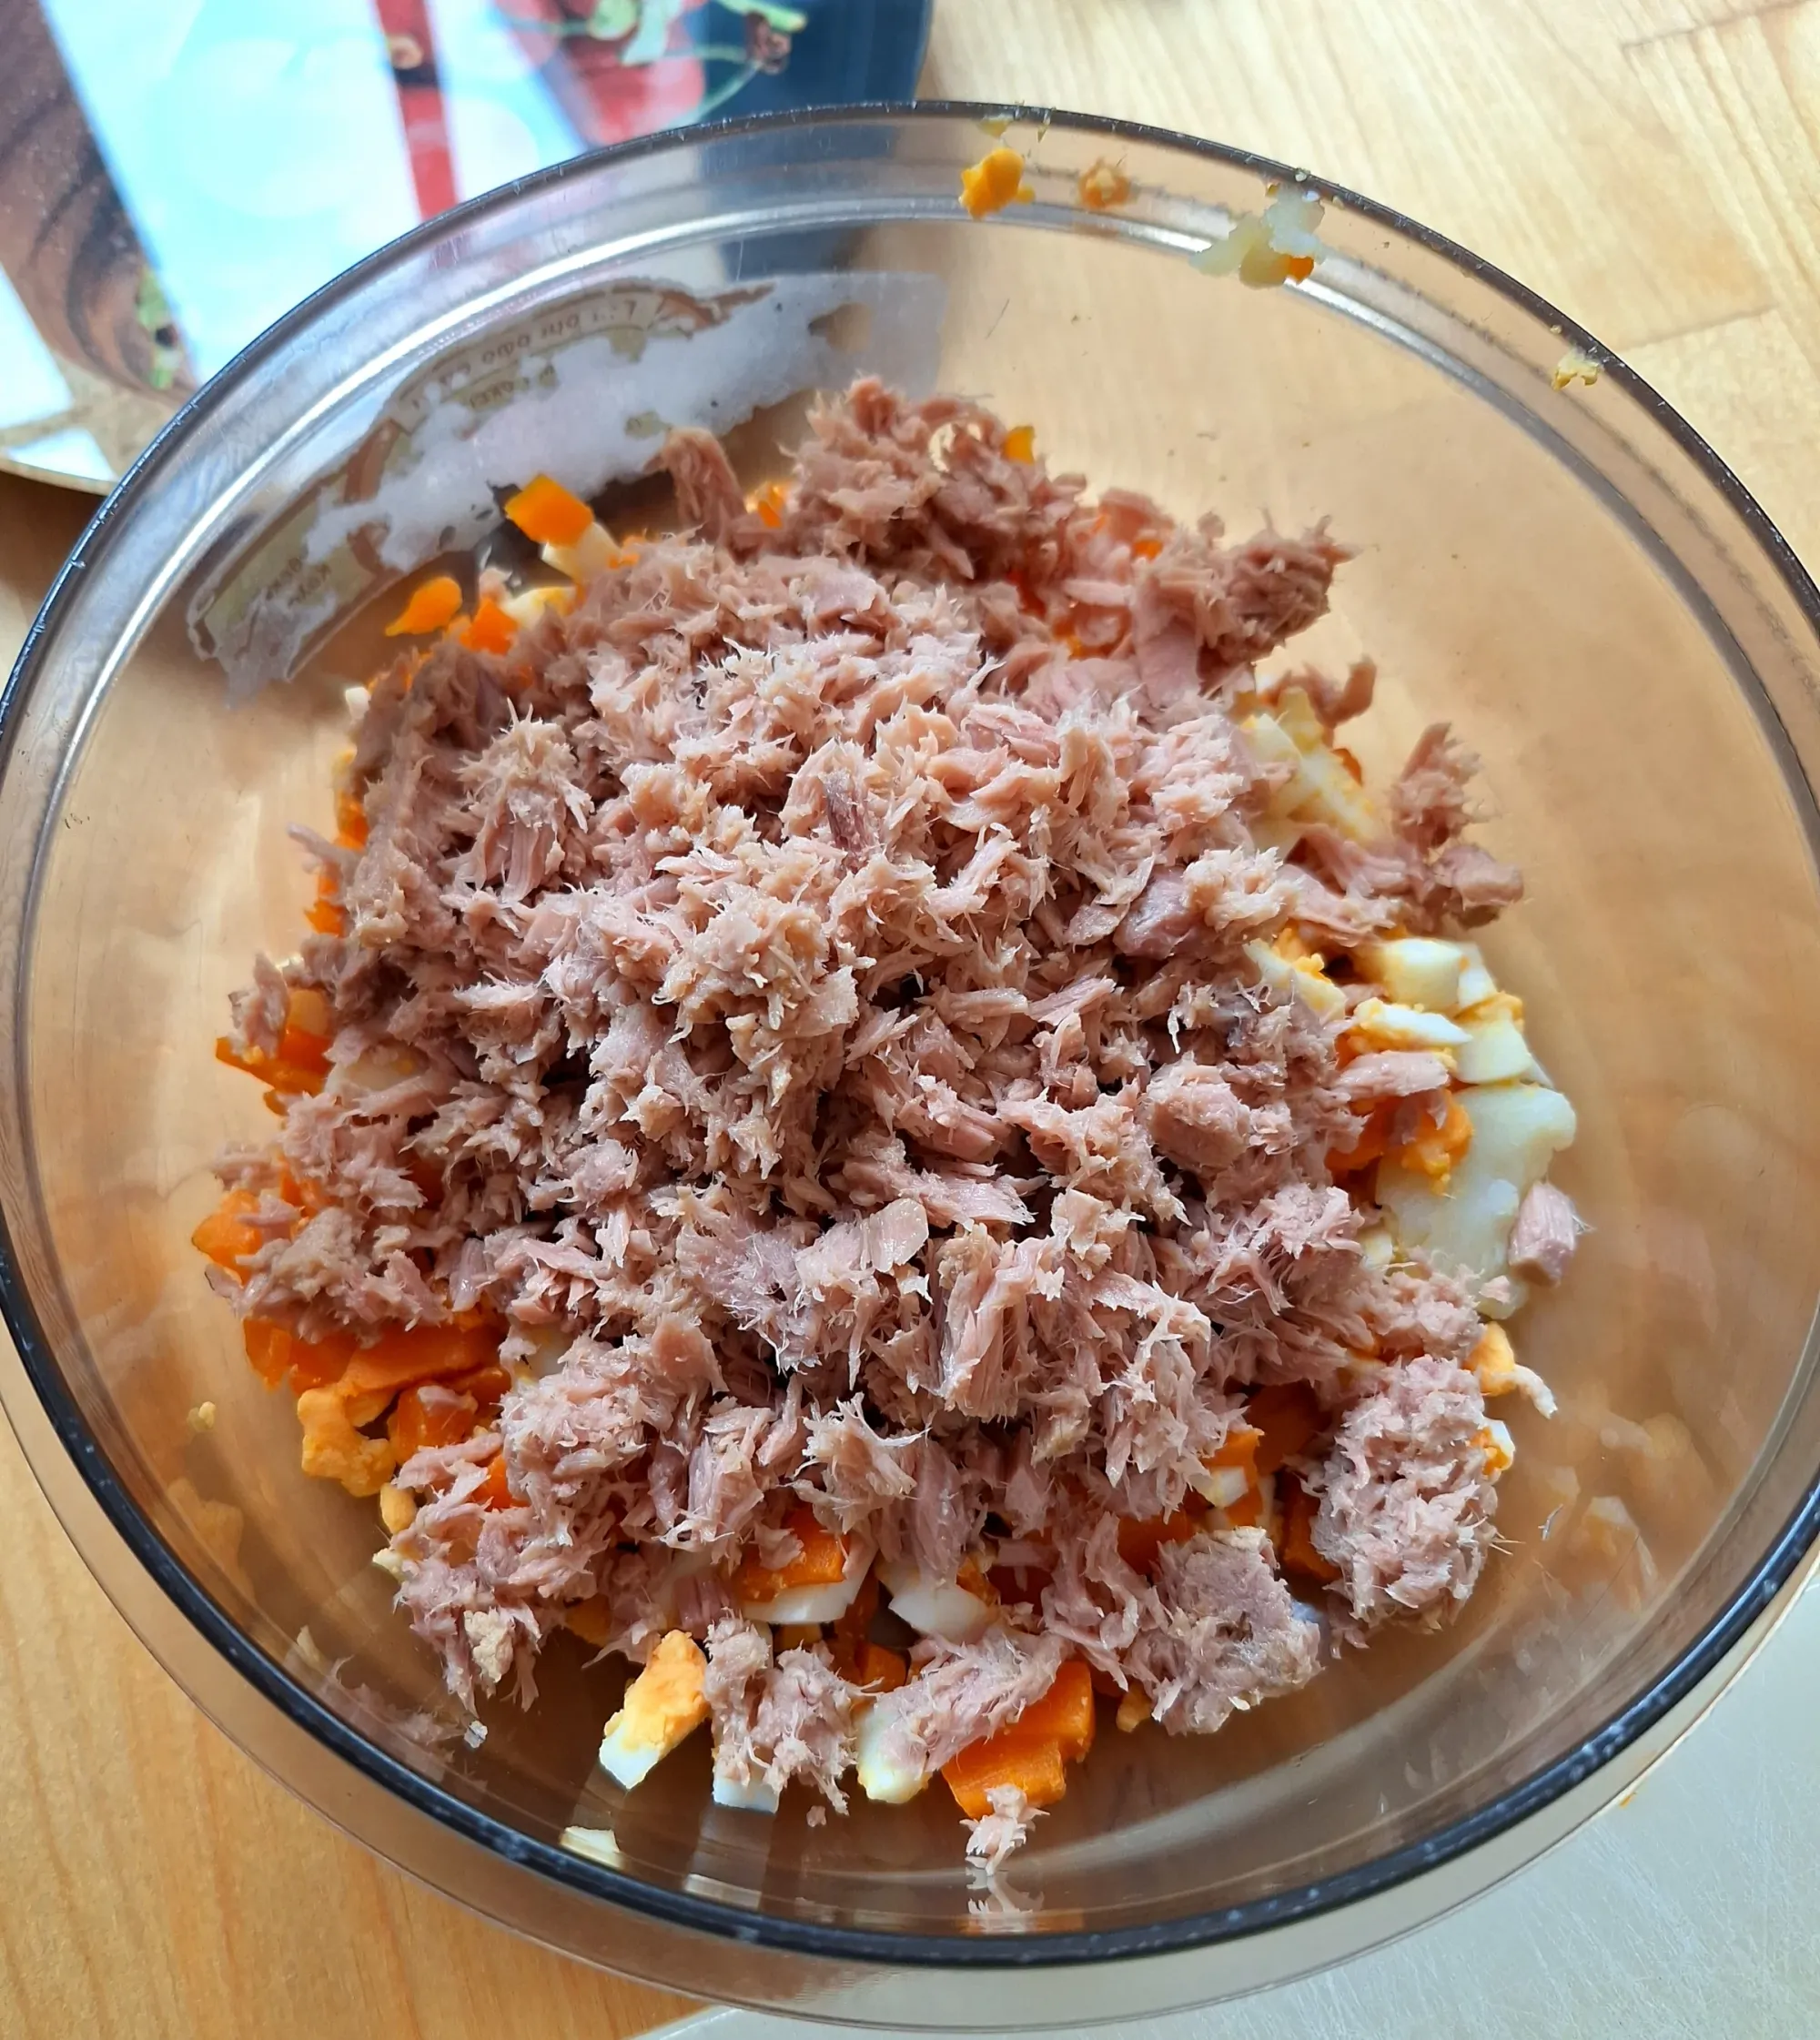
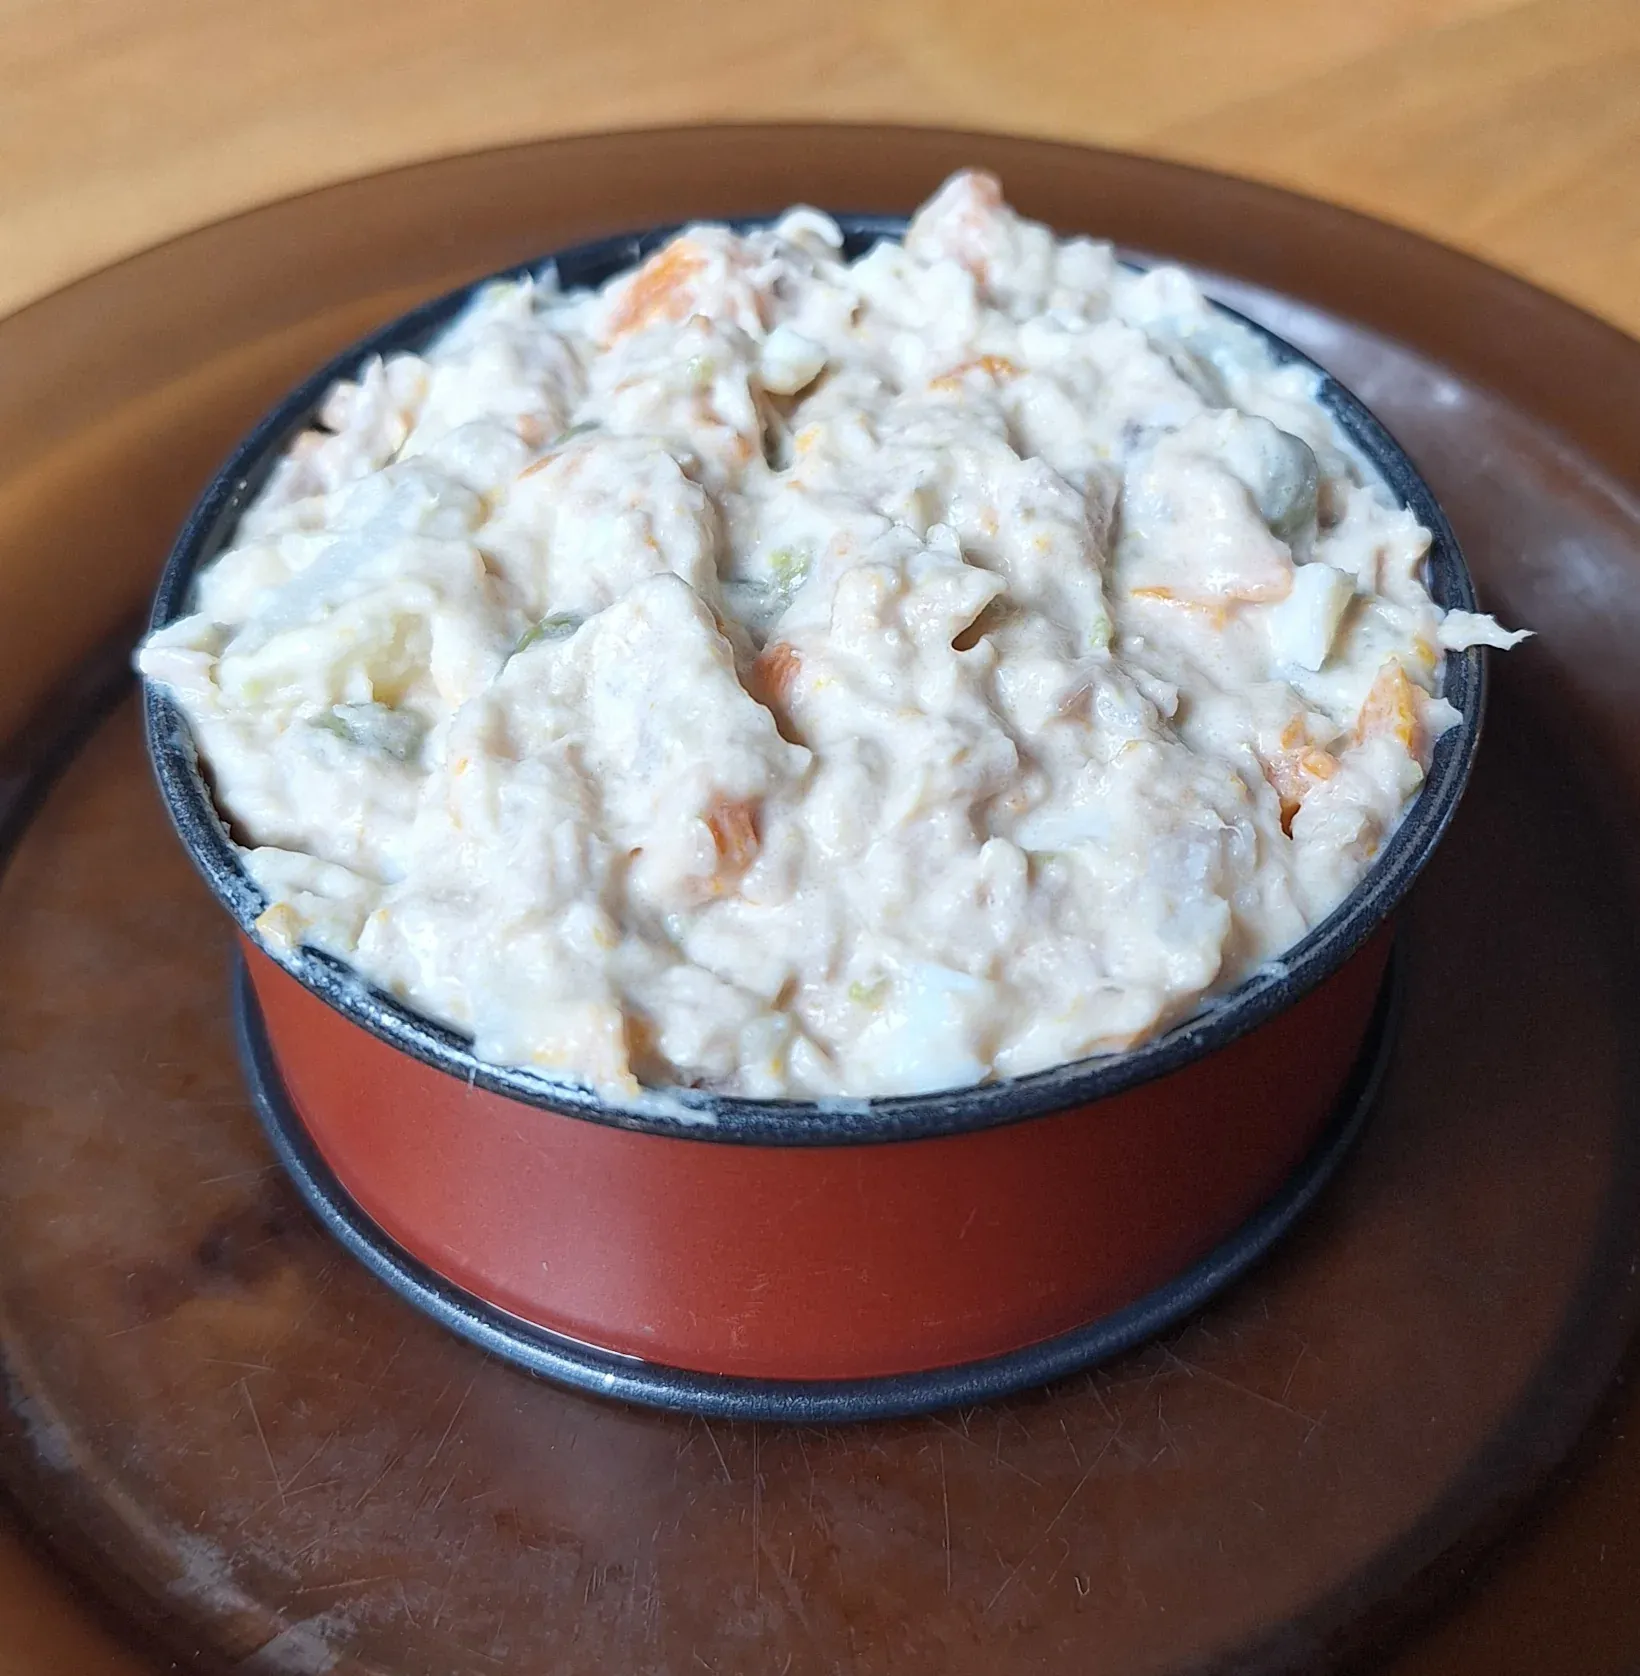
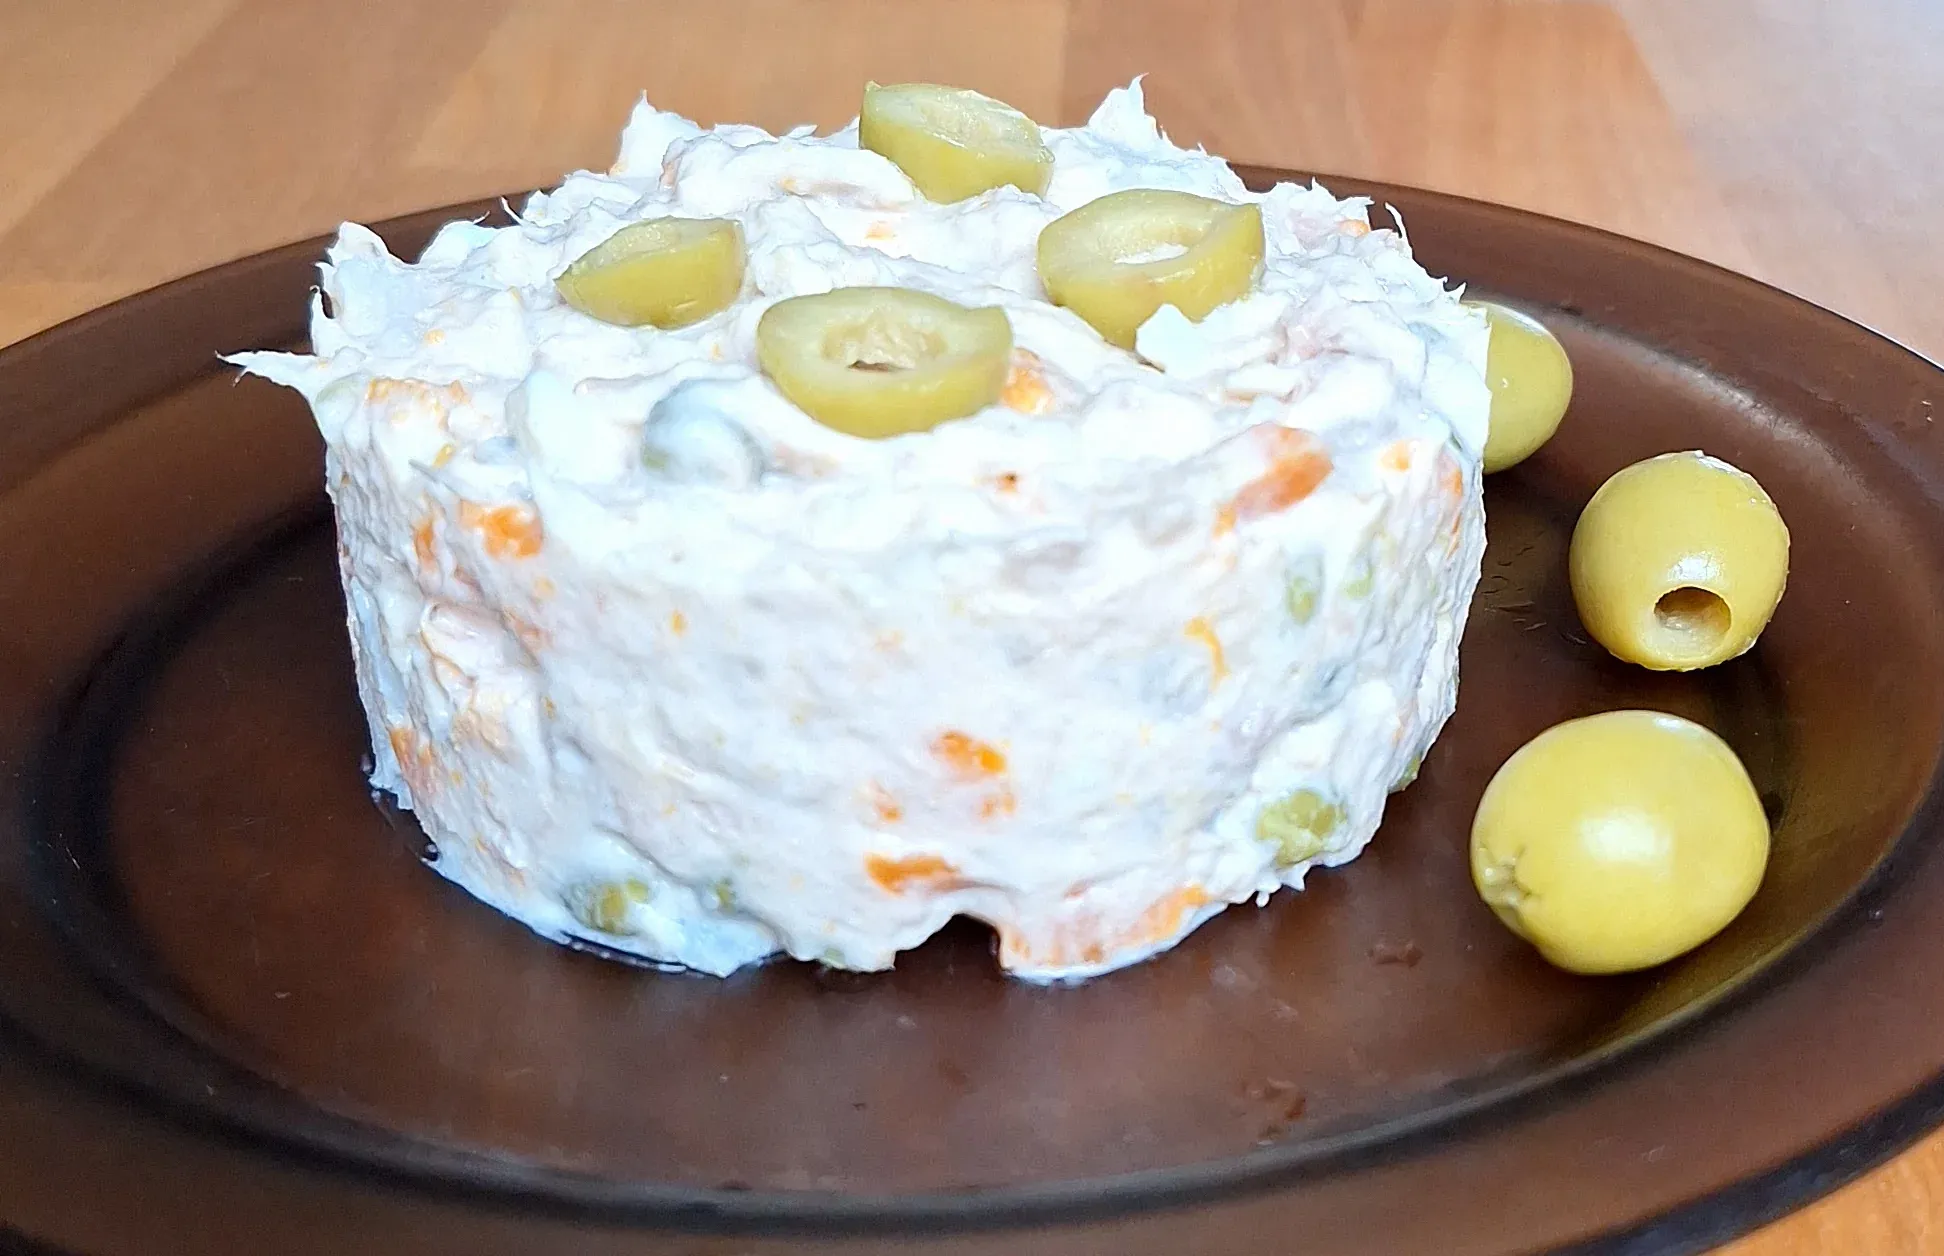
- Dice the carrot, potato and egg into small, even cubes.
- In a large mixing bowl, add the diced egg, diced carrot, drained tuna, and peas.
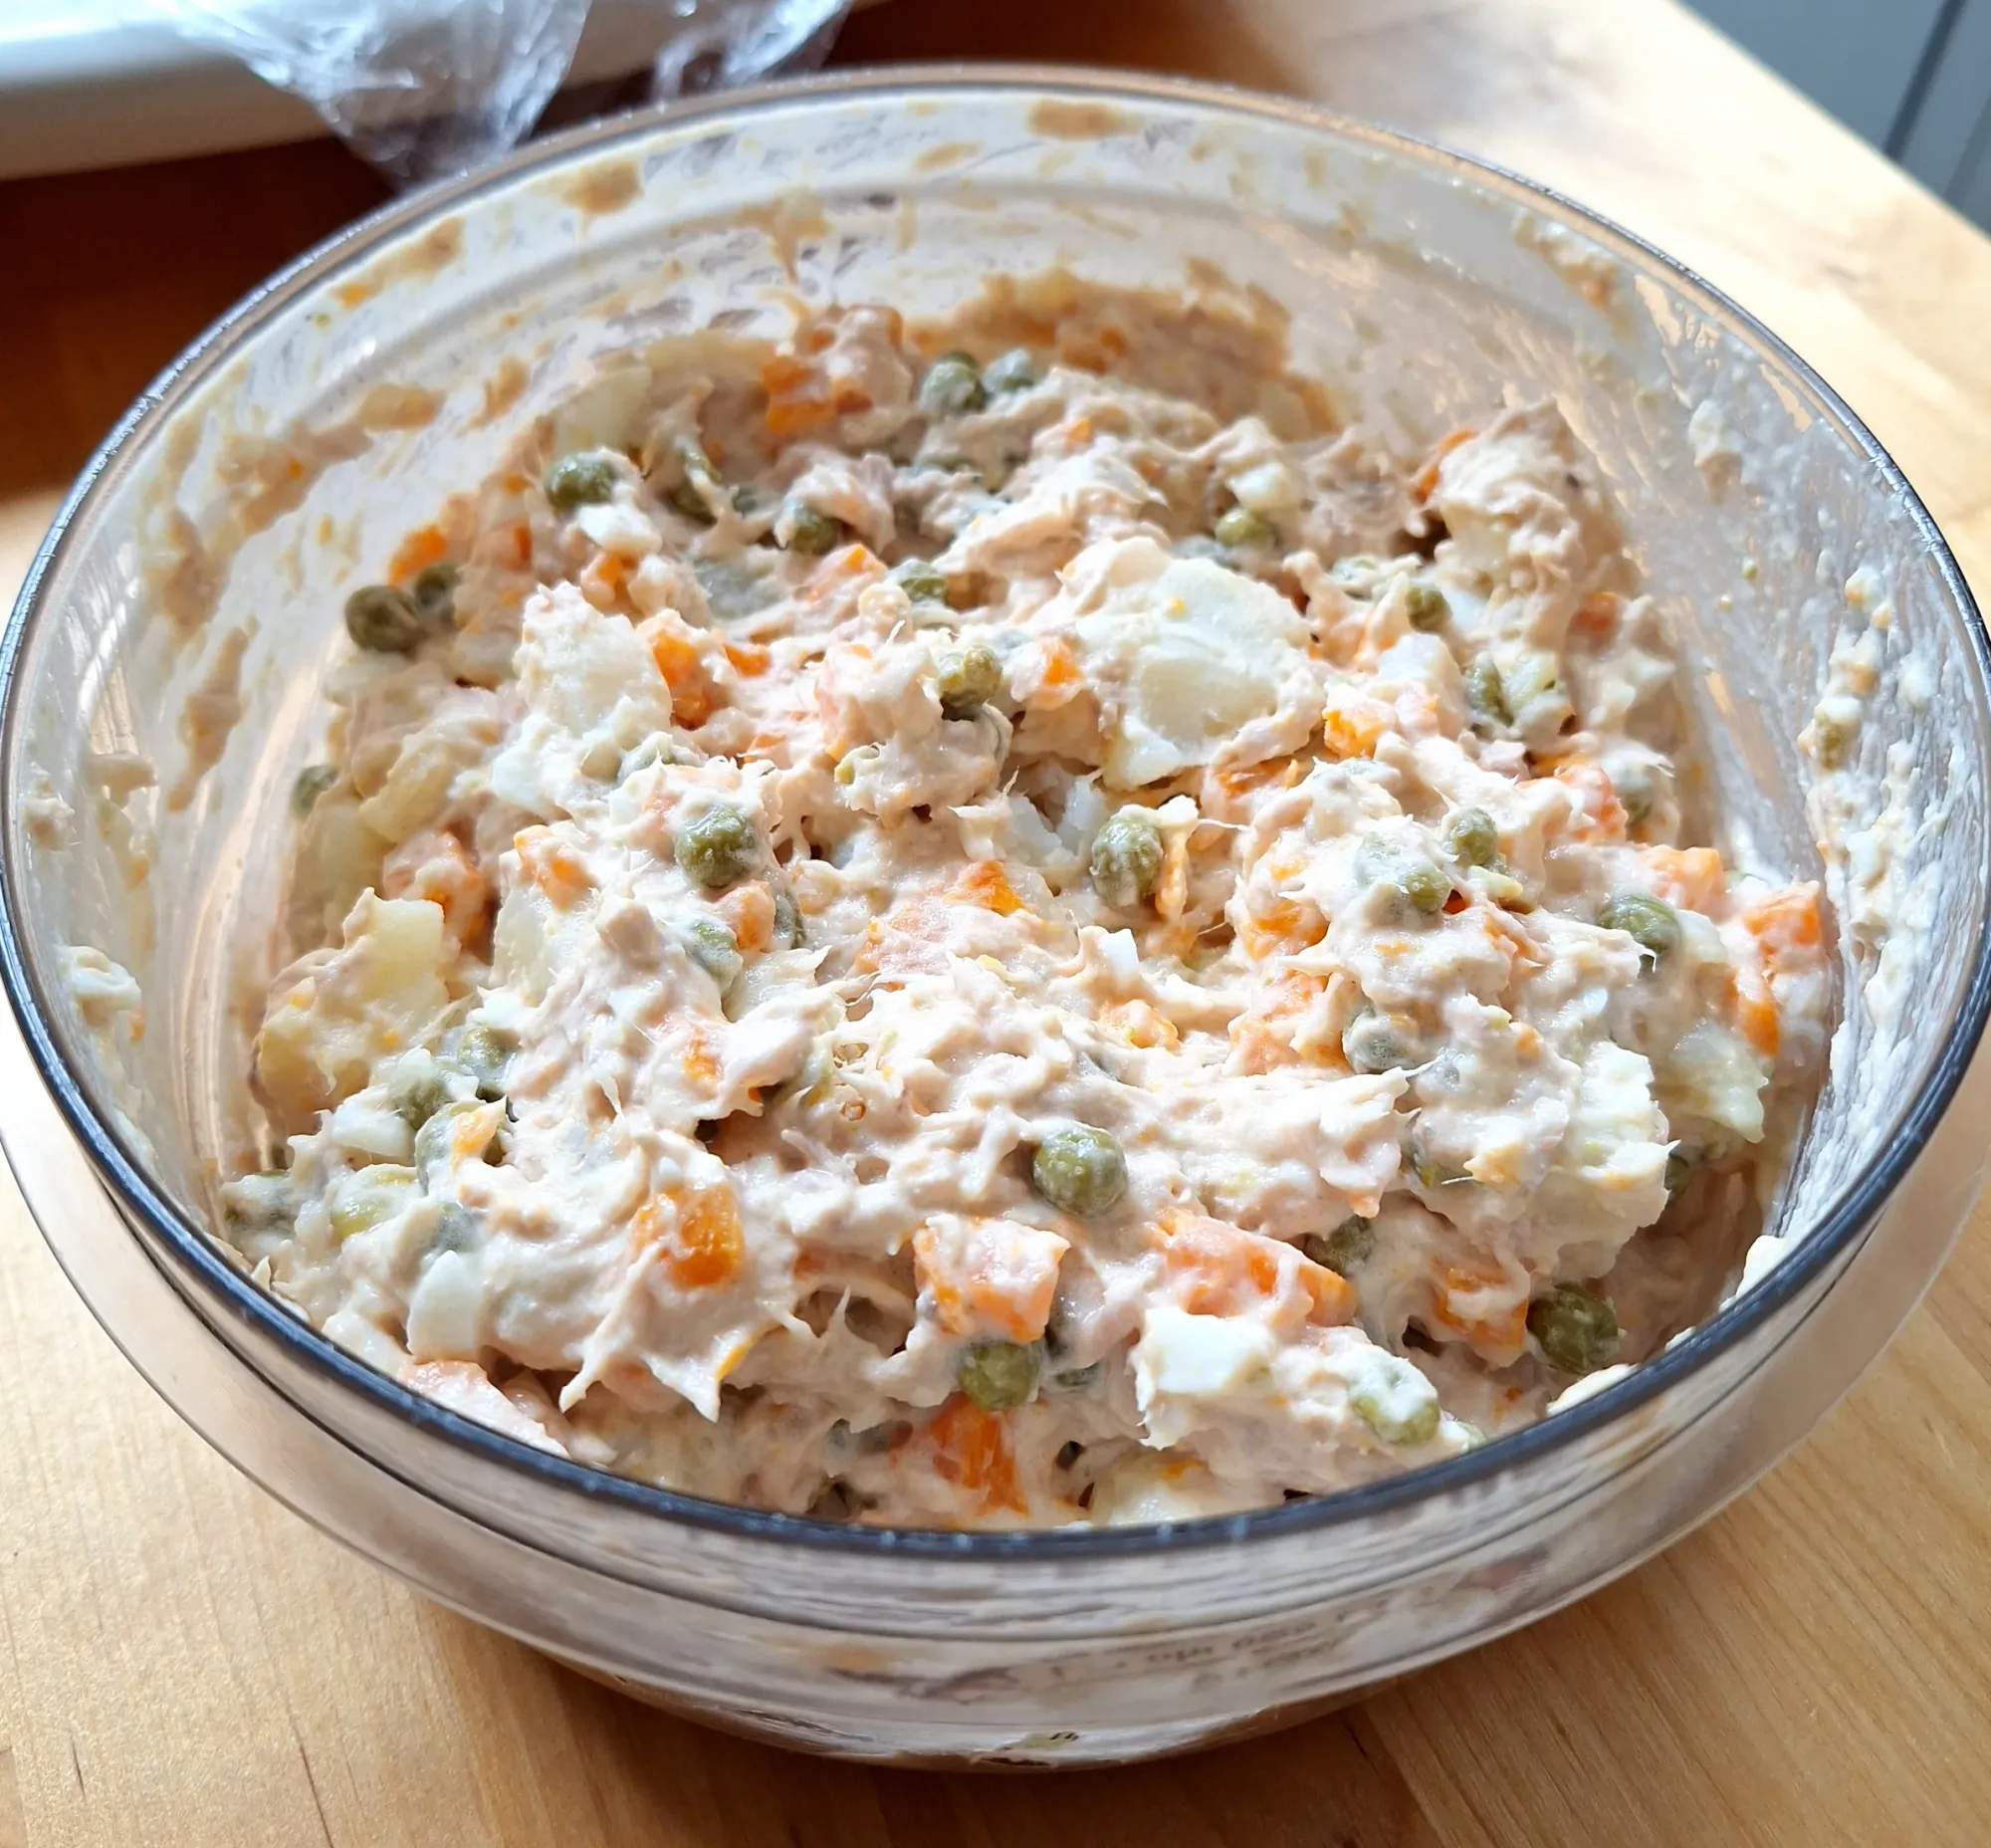
- Add the mayonnaise and a pinch of salt. Mix gently to combine.
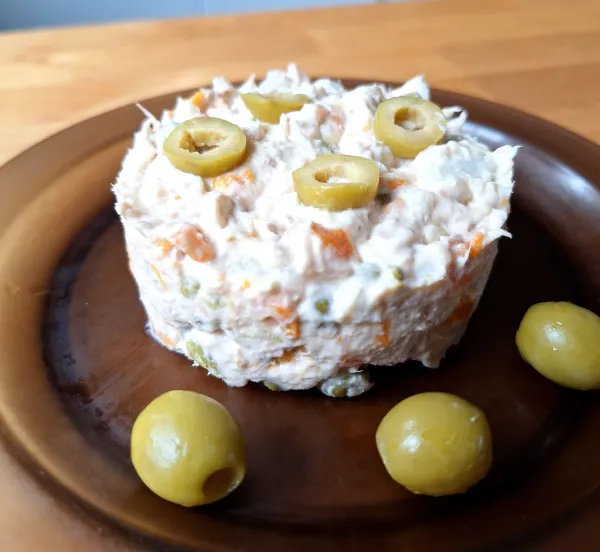
- Finally, add the diced potato cubes. Fold them in carefully to avoid mashing them, we want little potato chunks not mash.
- Give it a taste and add salt if needed. Cover and refrigerate for at least an hour to allow the flavors to mix.
- Serve chilled and enjoy your very own Spanish tapas.
And there you have it – a taste of history and a delicious, homemade Ensaladilla Rusa. Whether you're enjoying it as a quick snack, a light lunch, or part of a tapas spread, you're now part of a culinary tradition that spans continents and centuries. ¡Buen provecho!